Using verified Ohaus SJX scales with our software

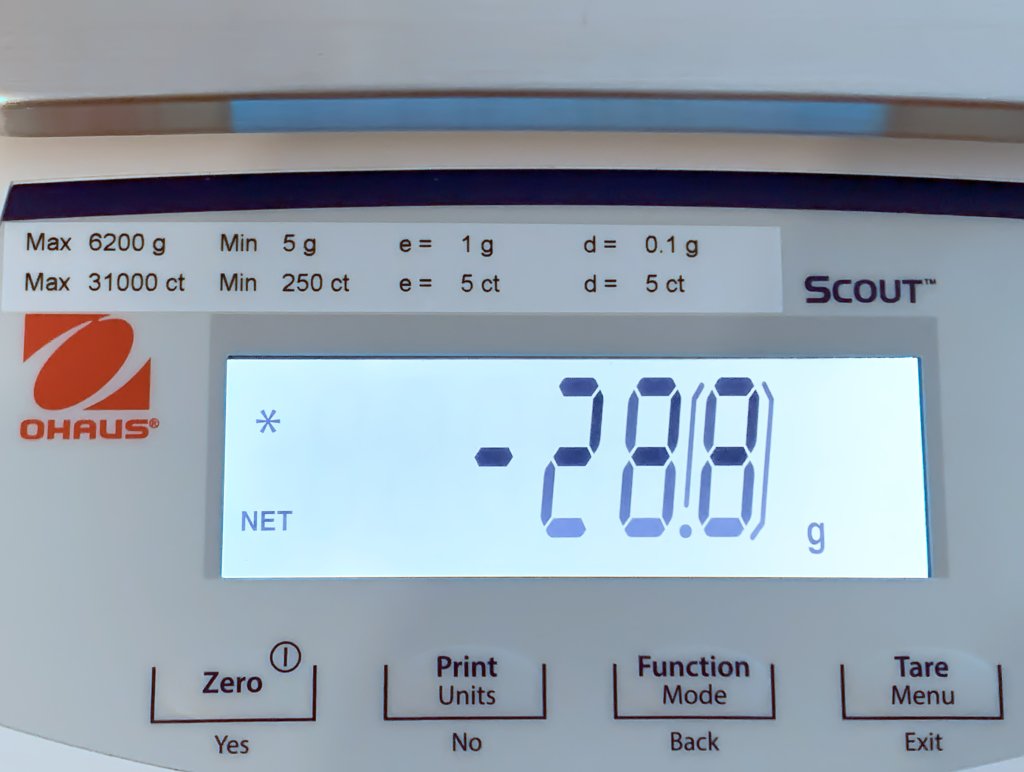
Most class I and II weighing instruments use what is called an “auxiliary indicating device” with a “differentiated scale division”1: On the display, the final digit or digits are visually distinct from the others. This is also the case with Ohaus SJX scales that have been verified (e.g. the SJX6201M):

Note how the scale division (d) is one tenth of the verification scale division (e) when weighing in g

This digit is enclosed in square brackets when the weight is sent over one of the optional interfaces (such as RS-232, USB, or Ethernet). Example:

   1234.[5]     g

By default, our software does not capture a digit that comes after a non-numeric character. This can be easily fixed in two steps. We’ll use screenshots from Simple Data Logger as an example, but the procedure is basically the same for our 232key virtual keyboard wedge software2.

1. Change the regular expression used to capture the weight

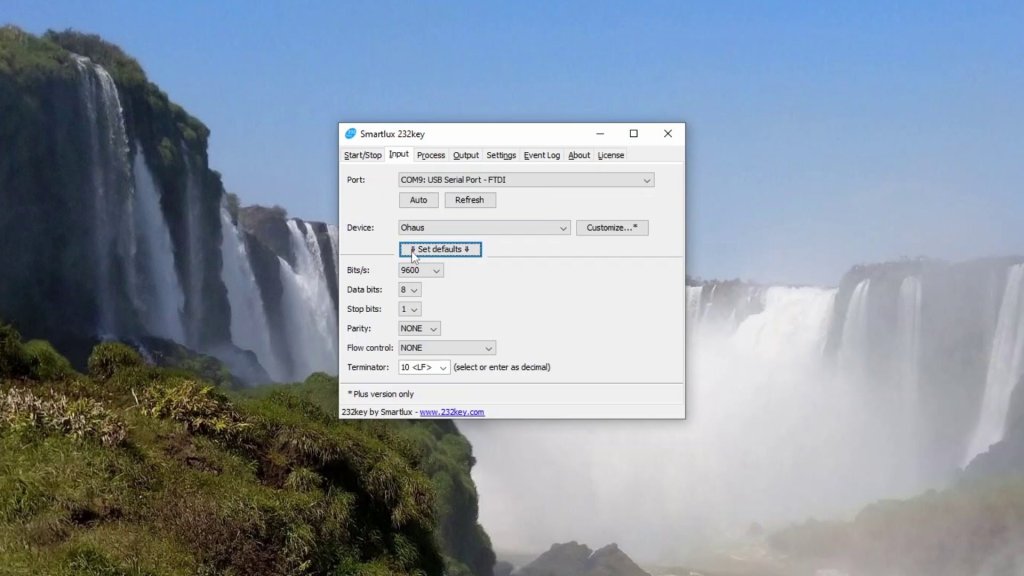
In the Input tab, click the Customize button and replace the regular expression with the following one:

(-*[0-9]*\.?[0-9]*\[[0-9]+)

This will ensure that the opening square bracket and the last digit are also captured (shown in blue in the Event Log):

Remove the bracket

The string we’ve now captured is not a number because it contains a bracket. Writing it to a file like this would make things complicated when processing the data later.

Fortunately, you can easily remove the bracket: Go to the Process tab, check Enable Editing, and enter the opening square bracket “[” in the Remove characters field:

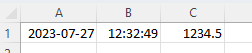
SDL will now properly write the complete weight as a number to the CSV file, which can be opened in Excel or other programs:

Important: If you are utilizing our software in connection with a verified scale, please ensure that such usage is compliant with the regulations and requirements of your local jurisdiction.


1: See OIML R76 (PDF) for further information
2: For an example that uses 232key, see this article

How to connect your Ohaus Valor 7000 scale to a PC and transfer the weight into any application

I’ve made a short, but comprehensive walkthrough video on connecting an Ohaus Valor 7000 scale to a PC. It uses the standard RS-232 port, a suitable data cable, an RS-232-to-USB converter and our free 232key virtual keyboard wedge software.

This will enable you to transfer the weight directly into a variety of applications as simulated keystrokes, such as Excel, a LIMS, or any other application of your choice. It even works with browser-based applications!

This guide can also be used for the very similar scales from the popular Ohaus Ranger 3000 series.

Ohaus Valor 7000 with 232key software

Video transcript

Introduction

This video will show you how to connect your Ohaus Valor 7000 scale to a PC and configure the 232key Virtual Keyboard Wedge software.

Connect the RS-232 cable to the scale

To prevent accidental overloading of the scale, remove the weighing pan and pan support. Then turn the scale upside down.

Open the compartment on the bottom. Connect the serial cable and secure it with the thumb screws.

Remove the cable breakaway tab

Before closing the compartment, break the middle tab on the cover. Turn the balance back over and put the weighing pan back in its place.

Connect the USB converter to the RS232 cable

Connect the USB converter to the other end of the cable and secure it with the thumb screws.

Connect the USB converter to your PC

Plug the converter into a USB port on your PC. The driver should install automatically. If not, see the video description for download links.

After the device is recognized by Windows, a new COM port will appear. You can find this port in the Windows Device Manager under “Ports (COM & LPT)”. In our case it is called COM9, but the number will probably be different on your system.

Configuring 232key

Download and install 232key, then launch the application.

In the “Input” tab, select the new COM port.

Set the “Device” to Ohaus and press the “Set defaults” button to set the serial interface parameters.

In the “Output” tab, select your keyboard type and, if necessary, a key that should be “pressed” after the weight is entered.

Go to the “Start” tab and press the “Start” button. 232key will now start listening for incoming data on the specified COM port and output it as simulated keystrokes.

Switch to the target application, e.g. Excel or a LIMS. For testing purposes we’ll just use Notepad.

Transfer the weight

Turn the scale on. Place an object on the weighing pan and press the PRINT button.

The weight is entered into the target application.

For more information, please visit our website at 232key.com.

A GX16 connector that does not fail

If you’re working in the weighing industry, you’ve probably come across the GX16 connector:

GX16 connector
Typical GX16 connector (male)

This circular connector is named after its M16 thread and can have up to 8 pins. While it is frequently referred to as an “aviation connector”, I sincerely hope that it is not actually used in aircraft, as I’ve seen many of these connectors fail. Their tiny screws are prone to coming loose, which renders the strain relief useless. Then it’s only a matter of time before the cable is pulled too hard and the wires detach.

What does it take to make a reliable GX16 connector?

This is the Ohaus Catapult 5000 scale:

Ohaus Catapult 5000 scale

It uses an overmolded GX16 connector to connect the platform to the indicator:

Ohaus Catapult 5000 scale indicator

We’ve sold hundreds of these scales and never had an issue with them that was caused by the connectors. This is due to the extensive work that Ohaus put into making them, as demonstrated by the photos below. Apologies for the photo quality, I didn’t take them in our photo studio and it shows.

Completely disassembled GX16 connector
Disassembly of the overmolded Ohaus Catapult 5000 GX16 connector (female) reveals that it contains a complete regular connector, including the metal backshell
The screws of the strain relief are secured with heat shrink tubing
The connector is completely filled
After removal of some material
Further material removal reveals that heat shrink sleeves were used after soldering

Further info