A&D EJ-120 precision scale: Zero point calibration with the density determination kit

Some of the scales from A&D’s EJ series (known as “Newton” in the U.S.) can be equipped with an optional density determination kit (EJ-13), as shown in this photo provided by A&D:

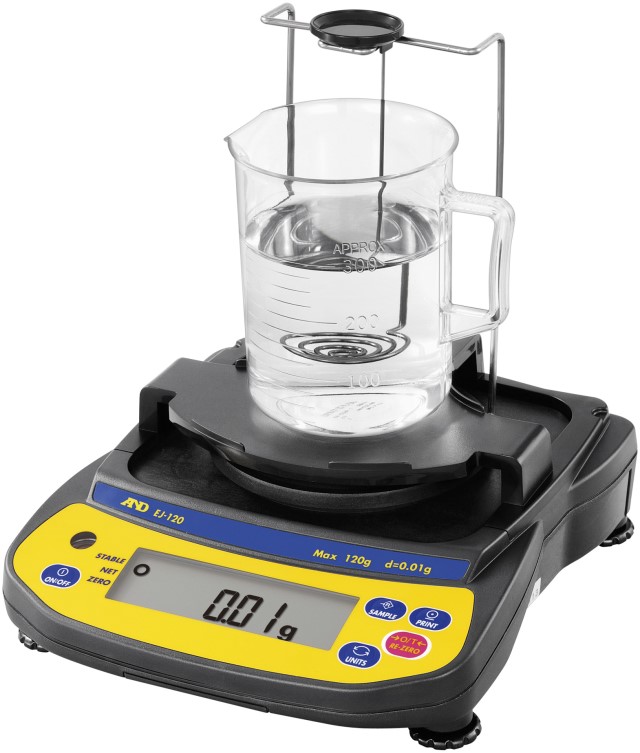
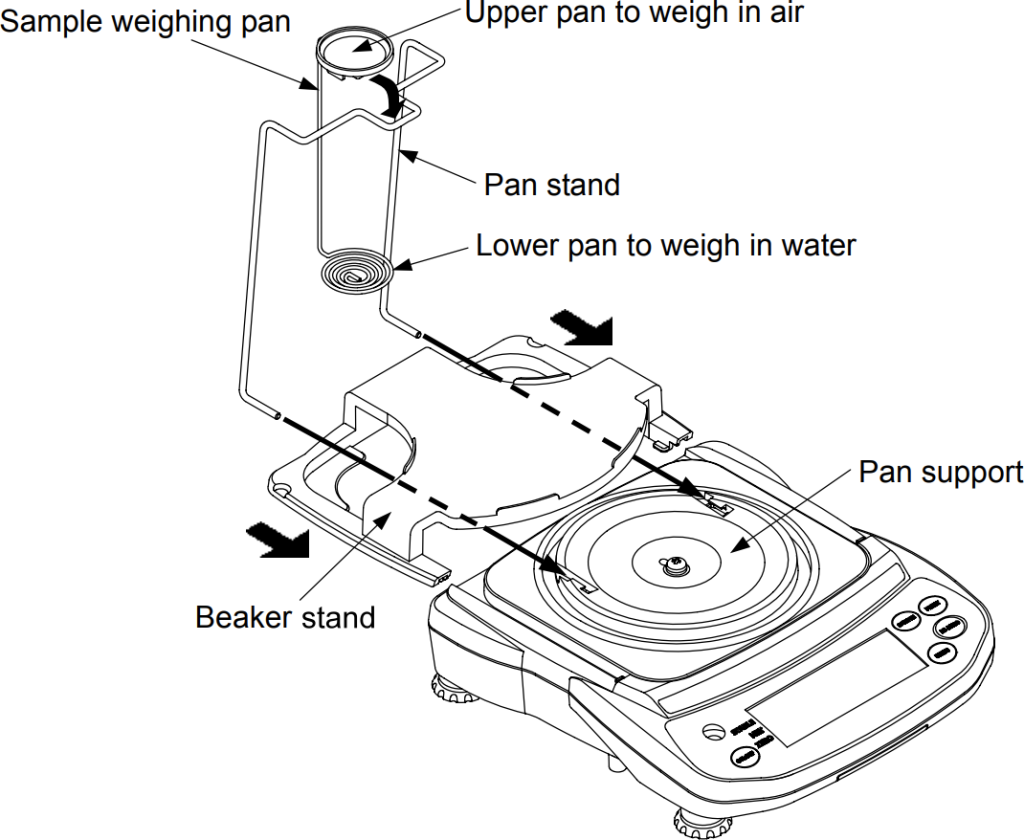
The stainless steel weighing pan supplied with the scale is removed when the density determination kit is installed. Instead, a pan stand and a special double pan are used to weigh samples in the air and in a liquid.

The problem: these two parts weigh just 38.5 g, while the stainless steel pan weighs about 55 g, a difference of 16.5 g. The manual states, “the range for power-on zero is within ±10% of the weighing capacity around the calibrated zero point.”

For the EJ-120 with a capacity of 120 g, this is only ±12 g, so we can expect a “-E” underload error when the scale is turned on. After a few seconds, it will display a negative value, which annoyingly cannot be zeroed with the RE-ZERO key.

The solution: perform a zero point calibration after installing the density determination kit (no calibration weight is required).

Note: If you have not yet purchased an EJ series scale, consider purchasing one with a higher capacity to avoid this problem.

EJ-120 scale zero point calibration

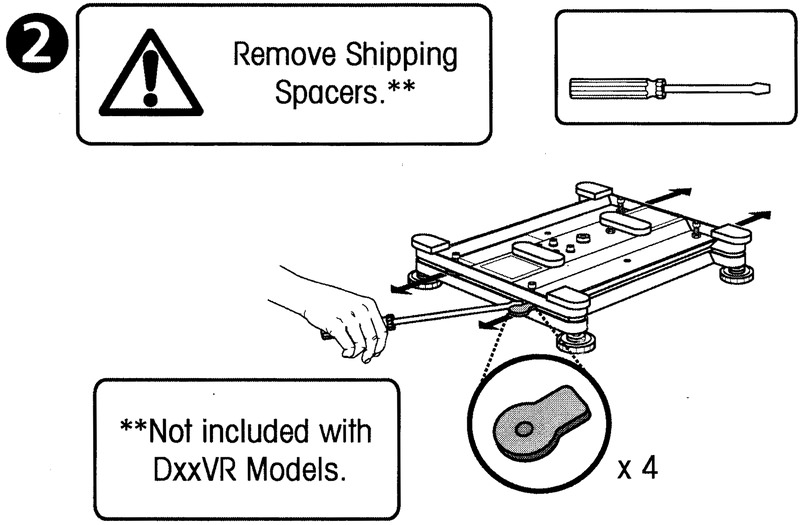
Open the calibration switch cover on the bottom of the scale:

Remove the stainless steel weighing pan and install the density determination kit as described in the manual:

Switch on the scale and wait until a value is displayed (this can take a few seconds):

Press and hold the calibration switch until the scale displays “CAL 0” (then release):

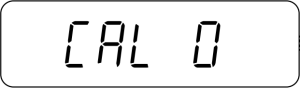
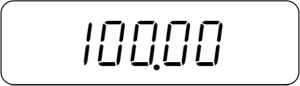
Confirm the zero point with the [PRINT] key. The scale displays “100.00” (the required calibration weight for the next step, which we will skip):

Press the [ON/OFF] key to switch off the scale.

If you now turn the scale on again, it will display “0.00 g” with the density determination kit installed.

Note: Clever readers may have noticed that the total zero range of 24 g (±12 g) exceeds the 16.5 g weight difference. Therefore, it is possible to perform a zero calibration at a point where the EJ-120 scale automatically zeroes either with the density determination kit or with the stainless steel pan installed. However, this might not work reliably for long because factors such as temperature changes affect the zero point (which is the reason that the zero range exists).

Links to the EJ series on A&D’s websites:

RS-232 troubleshooting: fake chips

RS-232 is still the most popular interface for balances and scales. It is often described as “simple”, however, when things don’t work as expected, finding the cause can be difficult.

This article does not aim to be a comprehensive RS-232 troubleshooting guide (for this purpose, please refer to this PDF document from Agilent Technologies or the troubleshooting section on our 232key website). Instead, it is supposed to raise awareness of an issue that is often ignored: counterfeit ICs.

When you’ve tried everything and still can’t reliably communicate with your scale via RS-232, there’s a chance a fake chip may be the cause.

Just a few weeks ago, the thought of encountering counterfeit ICs in digital scales had not crossed my mind. Thanks to FTDI’s recent attempt to “brick” counterfeits via Windows Update, fake chips are now a hot topic on the web. While I don’t agree with the way FTDI tried to punish the end user, I wish the controversy had occurred a few weeks earlier. This would have saved me a lot of time.

Back then I was doing the final QC for several scales which were about to be shipped to a customer. The last item on my checklist was “bidirectional communication using RS-232”, something I had done many times before with this exact model. What should have taken a few minutes ended up taking me several days and nearly drove me crazy because the problems I encountered were difficult to replicate. Eventually, I arrived at the conclusion that something was very wrong with the MAX232CPE+ chips, which are responsible for converting TTL signals to RS-232 levels. After doing some research on the internet*, I started to suspect those chips were counterfeit. It seemed like a far-fetched idea** at the time, but I still desoldered them, took a few pictures and sent them to Maxim Integrated.

Fake MAX232CPE+ and MAX232EPE+

Counterfeit MAX232CPE+
Fake, fake and fake.

Thankfully, I received a reply in less than two hours:

“Yes these parts are counterfeit, they do not match markings of lots we manufactured.”

Now extremely suspicious of all MAX232s***, I disassembled a few more scales from 4 different vendors. 3 contained ICs belonging to the MAX232 family, so I sent the pictures to Maxim Integrated, too. In addition to the chips used by the scale manufacturer which had prompted me to start this investigation, one chip used by another manufacturer was also flagged as counterfeit.

Counterfeit MAX232EPE+

To be fair, my sample size is too small to draw meaningful conclusions regarding the entire weighing industry. However, if you’re in the business of making weighing instruments and were blissfully unaware of this issue, I hope this article serves as a wake-up call.


* I found documents like this one (16 MB PDF presentation by SMT Corporation) or this one (100 KB PDF, University of Conneticut), this article by Maxim Integrated and even videos of YouTubers walking through huge electronic component malls in Shenzhen where almost everything is counterfeit.

** Though not quite as far-fetched as the manufacturer’s idea that “static build up from the polystyrene packaging in road transportation” was to blame.

*** And also seriously angry at having wasted so much time doing something the manufacturer should have done. I won’t do any naming and shaming here, though.


Update October 3, 2017: Several articles concerning this issue have appeared since I originally wrote this blog post.

Update October 15, 2020:

Update February 13, 2022:

Solution: Err 8.2 on Ohaus Defender scales

If your new Ohaus Defender shows “Err 8.2”, you have probably not yet removed the shipping spacers. These protect your scale from damage during transport, but have to be taken out before use.

1. Remove the stainless stainless steel platform pan. You’ll see 4 red plastic shipping spacers wedged between the overload protection screws and the upper frame of the platform:
Ohaus Defender 3000 shipping spacer

2. Remove these spacers by hand or with an adequate tool (without turning the overload protection screws):
Ohaus Defender shipping spacers removal

3. Place the stainless steel pan on the platform. Your scale is ready to weigh.